Mastering Hammer Control: Basic Forging Strokes and When to Use Them
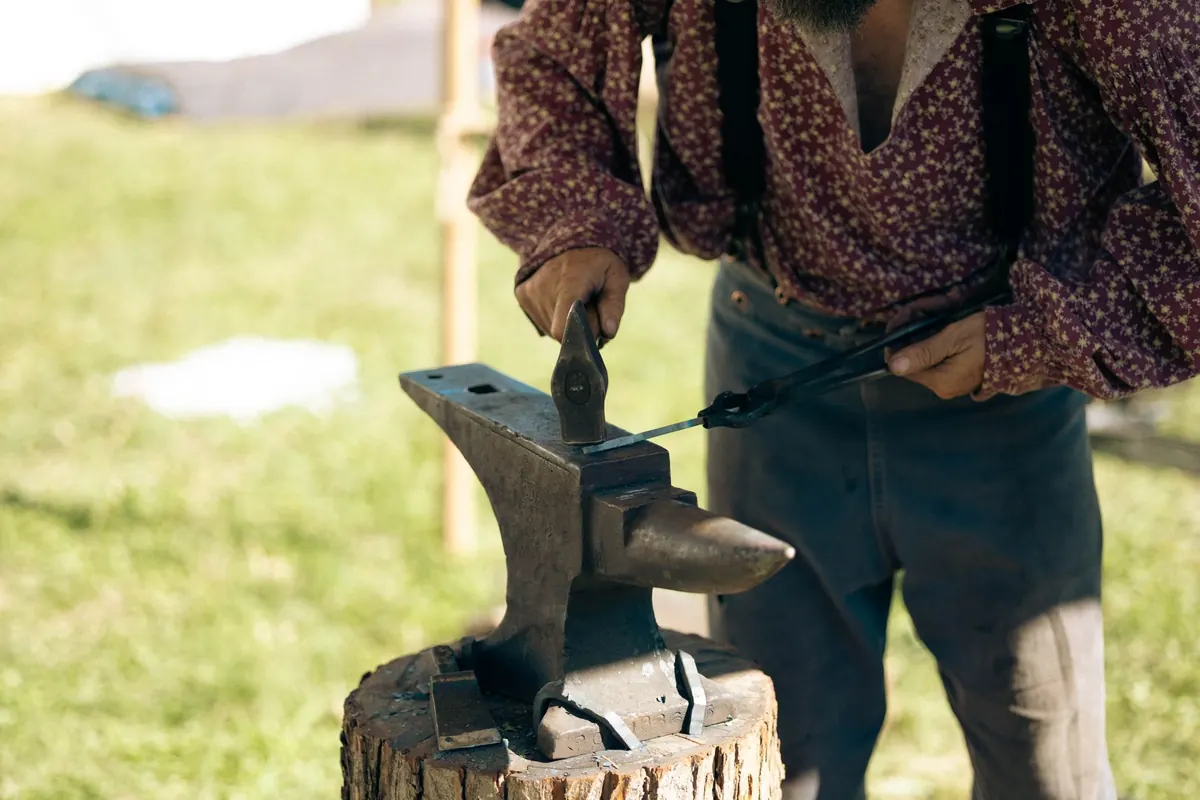
The hammer is the one tool you pick up on every job, which makes it the one tool worth getting right. Most beginners grip too hard, swing from the shoulder and hit the metal somewhere near where they intended. The work still moves, but slowly, and with a lot of tidying up afterwards. Control changes that. A smith who puts the hammer face exactly where they want it, at the weight they want, does in three heats what takes someone else six.
What follows is the working set: how to hold the hammer, the four basic strokes, and the moments each one earns its place.
Grip and Stance Come First
Hold the handle so its end sits in the middle of your palm, with the shaft roughly in line with your forearm. Wrap the fingers and thumb around it. Some smiths lock the thumb over the index finger, others keep it wrapped; either works, provided the grip can tighten on impact and relax on the rebound. If your knuckles are white through the whole swing, the hammer is steering you rather than the other way round. Tighten at the moment of contact, let the hammer bounce, and catch it softly at the top.
Two grips worth knowing
- Choked up. Hand near the hammer head. Less leverage, far more accuracy. Use it for light work, setting a bend, or any blow that needs to be precise.
- Full length. Hand at the very end of the handle. Maximum speed and force, less control. Good for drawing out thick stock under a heavy hammer.
Stance follows the same principle. Stand with your hammer-side foot forward, feet about shoulder-width apart, and set the anvil so the face is level with your knuckles when your arm hangs relaxed. Too low and you chop at the work; too high and you lose the drop of the hammer. Most of the swing comes from the elbow, with the shoulder adding power when you need it. Think about throwing a ball underarm rather than smashing something.
Drawing Out: Moving Metal Lengthwise
Drawing out thins and lengthens the stock. Take a bright, high heat — not a sparkling white one, which burns the steel — and work on the near side of the anvil face or over the horn. Angling the stock slightly across the anvil pushes metal away from you instead of straight down, so each blow lengthens the work rather than just flattening it.
Two habits separate clean drawing out from a mess. Rotate the stock a quarter turn between blows or between heats, so you hold a square or round section instead of hammering it into a blade. And keep the hammer face flat to the metal. A tilted face leaves crescent-shaped dents that take twice as long to remove as they did to make.
Upsetting: Shortening Metal on Purpose
Upsetting is drawing out in reverse: you drive the metal back into itself to thicken a section. The classic method is to stand the bar on the anvil face, or on the far edge if you need a shoulder, and strike the top end squarely with firm, rebounding blows. Work from a bright heat and stop before the bar cools to a dull red — cold steel upset poorly is how you get a mushroomed, split end.
Long bars have a habit of buckling in the middle, so support the work, go in short bursts and straighten as you go. Upsetting gives you the mass for a hammer head, a punch or a decorative finial, which is why it is worth learning early rather than avoiding.
Bending: Curves Under Control
Bending looks like the easy one and catches out more people than any other stroke. Use the horn for sweeping curves and the anvil's edge for tighter corners, and choose light taps over heavy blows — a bend moves further than you expect.
Work to a reference: a chalk line on the bench, a template cut from scrap, or the straight edge of the anvil. Steel springs back a little as it cools, so bend slightly past your target and tease it back. If the bend lands in the wrong place, don't fight it. Take another heat, straighten the bar and start the curve again from the correct point.
Fullering: Setting Shoulders and Spreading Metal
A fuller is a blunt, rounded tool — top fuller, bottom fuller in the hardy hole, or a spring fuller for repeat work. Rather than cutting, it pushes metal sideways in a controlled direction, which makes it the quiet workhorse of the forge.
Strike in overlapping passes, letting each blow sit half on the previous mark, and rotate the work a quarter turn between passes for even movement. Keep the hammer face parallel to the top of the fuller; a glancing blow will send the tool skating across the anvil.
- Starting a draw. A line of fullering where you want a taper to begin stops the metal spreading where you don't want it.
- Setting shoulders. Crisp transitions for tangs, tenons and collars come from fullering, then squaring up with the hammer.
- Spreading. Fuller a line, flatten it with the hammer face, and the metal spreads sideways — handy for widening a leaf or a strap end.
- Leaving texture. Fuller marks left in place give a forged, dimpled surface, though most work calls for them to be planished out.
Fullering leaves marks, so plan on cleaning them up with a flat hammer or a flatter unless the marks are the point.
Practice That Transfers to Real Work
Skill comes from deliberate repetition, not from hours of vague hammering. A few drills, ten minutes at a time, will do more for your accuracy than a whole afternoon of free forging.
- Dot drill. Chalk a small dot on a plate of scrap steel and strike it, aiming to land the hammer face dead centre, ten times in a row. Move the dot and repeat.
- Two-blow taper. Draw a taper in two blows per heat: the first to move the metal, the second to correct. It teaches you to plan a blow rather than just land one.
- Straight line. Strike a row of overlapping blows down a bar and check the result with a straight edge. Any waver in the line is waver in your swing.
- Clay practice. Plasticine or potter's clay shows, in slow motion, exactly how a hammer face sits on the metal. Cheap, cold and repeatable.
Whatever you practise, wear eye and hearing protection, keep water away from the anvil, and never strike hammer against hammer — the faces are hard and chip.
Building Hammer Control
Pick one stroke per session and give it your full attention. Check your grip, check your anvil height, and slow the swing down until the blows land where you want them; speed returns on its own once accuracy does. Mark your work with soapstone as you go, so you can see where the hammer actually went rather than where you meant it to go.
Then take that control into real jobs. A taper that starts exactly where you want it, a shoulder that sits square, a curve that matches its pair — these are the marks of a smith who has learnt the strokes rather than just the swing. It is slow work at first and quick work later, and no shortcut skips the middle.
Photo: Owen.outdoors / Pexels