A Beginner's Guide to Setting Up a Home Forge in the UK
A home forge is one of the more forgiving workshops you can set up. You do not need a barn, a power hammer, or a fortune in tools. What catches people out is rarely the anvil — it is the flue, the insurance small print, and the neighbour who did not know you planned to hammer steel at seven on a Saturday morning. Sort those first and the rest is simple.
Start With the Space, Not the Anvil
A garage, a shed, or a sturdy outbuilding will do, provided three things are true: the floor is solid and non-combustible, there is an external wall you can run a flue through, and you are not directly beneath a neighbour's bedroom window. Concrete is ideal. Bare boards and old carpet are not.
Plan the layout before you buy anything. The forge sits near the flue, with clear floor around it — a metre or two in every direction is a sensible target for hot work. The anvil goes a pace or two away: close enough to move hot steel quickly, far enough that you are not standing in the smoke. The vice faces the light. The quench tank stays within reach of the anvil, not across the room.
Then walk the boundary. Where is the nearest fence, hedge or timber shed? Where do you keep paint, petrol or a gas barbecue? Which way does the wind usually blow? Ten minutes with a tape measure now saves a lot of awkwardness later.
Planning Permission, Noise and Neighbours
A hobby workshop in an existing outbuilding often falls within permitted development rights, but "often" is doing a lot of work in that sentence. If you are running a business, if the building is listed, if you are in a conservation area or national park, if you are changing how a building is used, or if permitted development rights have been removed locally, you may need permission or consent. Ring the duty planner at your local council and ask. It costs nothing to ask and a great deal not to.
Noise is the other issue, and in practice it is the one that ends home forges. Hammering carries further than you expect, especially through cold evening air. A working pattern of weekday mid-mornings to early evening, with Sundays kept quiet, keeps most people on side. Better still, tell your neighbours before you light the first fire. Show them the setup, explain your hours, leave your number. Most complaints are about surprise, not sound.
If you rent, get written permission from your landlord and check your tenancy agreement for anything about outbuildings or trade use. For listed buildings, boundary disputes or anything commercial, take proper planning or legal advice rather than trusting a forum thread.
Ventilation and Carbon Monoxide
A solid fuel forge produces carbon monoxide. It has no smell and no colour. A headache, dizziness or nausea after a session is a warning sign, not a coincidence — if that happens, stop, get into fresh air and seek medical advice.
Do not rely on an open door. You want cross-ventilation at high and low level, so fresh air can enter and hot gases can leave, plus a hood over the fire connected to a flue carrying gases outside, ideally above the roofline. Flue height, design and clearances to combustible materials all matter, so have a competent person install and check it and ask about building regulations for solid fuel appliances. A carbon monoxide alarm with an audible alert, tested weekly, is non-negotiable.
Two materials deserve a warning. Never heat galvanised or zinc-coated steel, and be cautious with anything painted, plated or of unknown origin — the fumes can be seriously harmful. If you are unsure of a piece of scrap, do not put it in the fire.
Fuel Storage
- Coal and coke. Keep it dry in a lidded metal bin, ideally in an outbuilding away from the house and away from anything that burns. Damp coal heaps can heat up on their own.
- Charcoal. Dry and sealed, stored away from the forge. A split bag near a hot surface is a fire waiting to happen.
- Propane and butane. Cylinders upright and secured so they cannot fall, stored outdoors or in a well-ventilated spot away from drains, cellars and openings into the building. LPG is heavier than air, so a leak pools at floor level instead of dispersing. Change cylinders outside, check hoses and regulators regularly, and follow your supplier's guidance. If you plan to store larger quantities, ask what your supplier and local authority require.
Whatever the fuel, keep it out of the working zone. Clear floor around the fire matters more than tidiness anywhere else.
Insurance
Ring your insurer before your first fire, not after your first claim. Standard home policies frequently exclude business use, trade activity in outbuildings, or particular fire risks — and a forge is exactly what an underwriter wants to know about. Tell them what you are doing, where, and how often.
- Public liability cover if you sell at markets, teach, or have visitors in the workshop.
- Product liability if you sell what you make.
- Employers' liability if you pay anyone to help, which is a legal requirement in most cases.
- Separate cover for tools and stock, which a home contents policy may not extend to an outbuilding.
If you rent, your landlord's policy will not cover your kit. If this becomes a business, use a broker who understands small workshops or rural trades rather than guessing on a comparison site.
The Starter Kit
- A forge. A simple solid fuel firepot in a steel table, or a small gas forge if you have no easy flue route and understand gas safety.
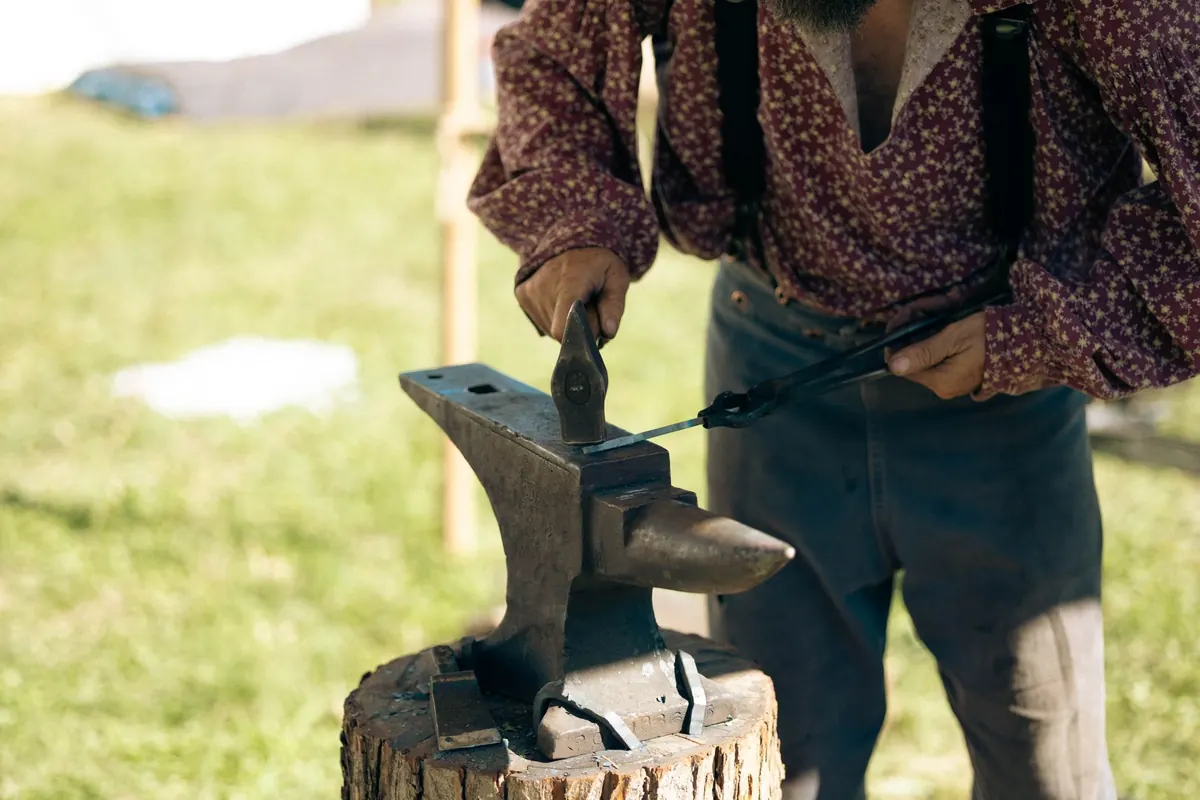
- An anvil, or something that behaves like one. A length of rail track or a large hammer head set in a stump will carry you through the first year.
- Hammers. One around 1kg and one around 1.5kg, both with a dressed face.
- Tongs. Two or three pairs covering flat, round and square stock.
- A vice — leg or heavy bench — bolted down properly.
- A quench tank. A metal bucket or old keg, somewhere you cannot knock it over.
- PPE. Safety glasses, ear defenders, leather apron, gauntlets, leather boots. Avoid synthetic clothing; it melts onto skin.
- Fire kit. A suitable extinguisher, a fire blanket and a bucket of sand. Know where they are without looking.
Your First Session
Start small. Light a modest fire, bring one piece of mild steel to a dull red and make a taper, then a hook, then a poker. Twenty minutes of forging is plenty at first — you will tire long before the steel does.
Set two habits from day one. Before you strike, check the floor is clear and the extinguisher is where it should be. Before you leave, check the fire is out and the gas is off at the cylinder. Never leave a lit forge unattended, and never assume steel is cold because it is not glowing: black steel at 400°C looks exactly like black steel at 15°C. Wave a hand close to it, or use tongs, before you touch anything.
You will rearrange the workshop three times in the first year, and that is fine. Build it safe and simple, then let the layout settle as you learn what you actually reach for.
Photo: Momentmal / Pixabay