Understanding Steel for Blacksmithing: Carbon Content, Colour and Spark Testing
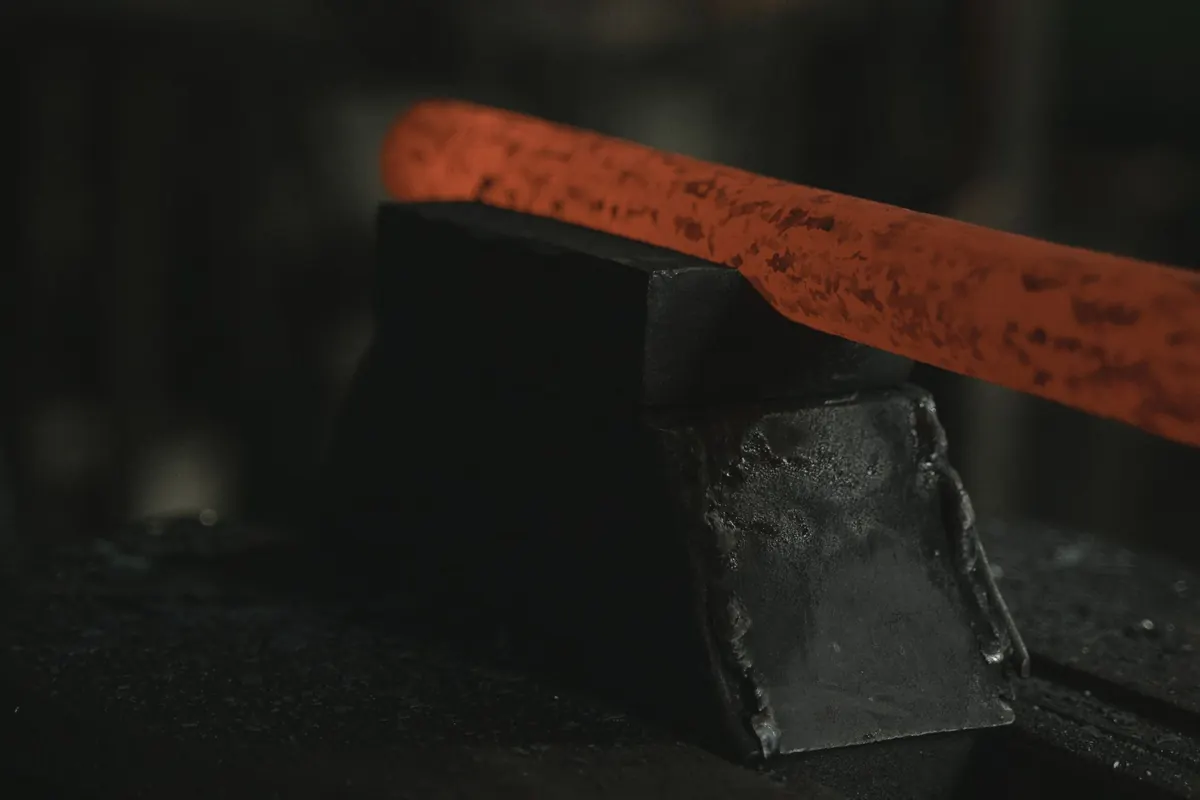
Every blacksmith eventually ends up holding a mystery bar of steel. It came from a scrap pile, a farm sale, the back of a mate's van. It might forge beautifully and harden like glass, or it might bend forever and never take an edge. The difference is almost entirely down to carbon, and you can find out a great deal about a piece of steel with nothing more than a grinder, a magnet and your eyes.
Before you cut, bend or quench anything, spend two minutes working out what you have. Steel you understand is steel you can trust.
What Carbon Content Really Means
Steel is iron with carbon dissolved in it, and the amount of carbon decides how hard it can get, how tough it stays, how wide its working range is, and whether it will forge weld without a fight.
- Mild steel (roughly 0.05–0.25% carbon). Soft, forgiving, welds beautifully at the anvil and will not harden no matter what you do to it. This is your gates, brackets, hooks, fire tools and scrollwork. If a piece of steel bends cold without complaint, it is probably mild.
- Medium carbon (roughly 0.3–0.6%). Takes a partial hardening and stays tough. Good for hammers, drifts, punches, wedges and springs. It moves a little stiffer under the hammer and is fussier about overheating.
- High carbon (roughly 0.6–1.2%). Blades, chisels, springs, gravers. It will harden properly, but its forging range is narrow and it burns easily. Work it at a steady cherry red and never leave it in the fire to think about things.
- Alloy and tool steels (W1, O1, D2, high-speed steel and similar). Carbon plus chromium, tungsten, vanadium or molybdenum. Excellent wear resistance, but they need specific heat-treatment temperatures and soak times. High-speed steel is a poor choice for hand forging: it resists the hammer and wants temperatures your forge may struggle to hold.
Carbon is not the whole story. Alloying elements and the way the steel was made both change how it behaves, which is why a spark test is a strong hint rather than a certificate.
Reading Heat by Colour
Colour is the oldest temperature gauge in the workshop, and it costs nothing. It is also approximate. Ambient light, scale on the surface and alloy content all shift what you see, so judge colours in the same lighting every time and treat the figures below as guides rather than readings.
Forging colours
- Dull red, around 600–700°C. The steel is barely moving. Fine for straightening, risky for heavy drawing.
- Cherry red, around 800°C. The sweet spot for most carbon steels: easy to move, not yet burning.
- Bright orange, around 900°C. Fast work for heavy drawing out. Watch for grain growth if you hold it there.
- Yellow, around 1100°C. Too hot for most carbon steel. Grain coarsens, and thin sections will burn.
- White or sparking, 1250°C and above. The steel is being ruined. Take it out and let it cool.
Mild steel tolerates the yellow end reasonably well because there is little carbon to burn. High carbon does not. When in doubt, work cooler and use more heats.
Tempering colours
After quenching, polish a patch back to bright metal and heat the piece gently, watching the oxide colours run. They appear in order and each one corresponds to a temperature:
- Pale straw, around 200°C. Maximum hardness; razors and fine cutting edges.
- Straw to bronze, around 230°C. Chisels, woodworking edges, small punches.
- Brown, around 250°C. Axes, striking tools, hardy tools.
- Purple, around 280°C. Springs, cold chisels, parts that need toughness.
- Blue, around 300°C. Saws, spring steel, anything taking repeated shock.
- Grey, 350°C and up. The hardness is gone. Decorative work only.
Colours are a starting point. Alloy steels shift them, and some grades want a specific tempering temperature from a datasheet rather than a glance at the rainbow.
Spark Testing: The Cheapest Test You Own
A grinding wheel throws a spark pattern that reflects the carbon in the steel. Do this in low light and do it consistently, because the comparison is what matters, not the individual sparks.
- Use a clean, coarse wheel and stand to one side of the stream, not directly behind it.
- Turn off the shop lights so the spark stream reads clearly.
- Press the steel to the wheel with the same angle and pressure for every test piece.
- Watch the whole stream: its length, colour, how far it travels and how often it forks.
- Compare against pieces you already know. Keep mild steel and a known file nearby as your reference.
Mild steel throws long, straight, straw-coloured sparks with few forks, often ending in a small spear point. Medium carbon shortens the stream and adds forks. High carbon gives a short, bright, bushy spray with many bursts and small stars breaking close to the wheel. Cast iron produces dull red sparks that hug the wheel and crumble. High-speed steel is sparse and dark red-orange, with little branching.
Alloying elements muddy the picture. Chromium and nickel brighten and complicate the bursts, so a chrome alloy can look higher in carbon than it is.
Other Tests Worth Knowing
The file test
A sharp file skates across hardened steel and bites into annealed or mild steel. Run it over a test piece after quenching to check the quench actually took, and over scrap to get a rough idea of what you are holding.
The magnet test
Plain carbon steel stops being magnetic at roughly 770°C, so a magnet on a wire makes a useful heat marker. Do not treat it as a universal quench signal: some steels need to go hotter than that before quenching, and alloy grades vary.
The bend test
Cut a thin strip, quench it, then try to snap it in the vice. High carbon hardened properly will snap with a fine, bright grain. Mild steel will simply bend. This tells you more about a mystery steel than any single spark reading.
Scrap Steel: What You Are Probably Holding
Coil and leaf springs are usually medium to high carbon and make excellent tools once normalised. Old files and farrier's rasps are typically high carbon, though they are often surface-hardened only and can hide cracks. Ball bearings, plough discs and crowbars are all worth testing rather than assuming.
Avoid anything galvanised, chromed or painted. Zinc coatings give off fumes you do not want to breathe, and the coating has to come off completely before the steel goes anywhere near the fire. Grinding dust is its own hazard: wear eye protection, keep a clear bench, and never grind near oil, rags or sawdust.
Build a Reference Set
Spend an afternoon making yourself a small library. Cut a 300mm bar of each steel you use regularly, label it with a paint pen, and grind each one so you have a known spark pattern to compare against. Add a quenched coupon of each, filed and broken, so you know what a good grain looks like. Note what worked in a notebook. Six months later, that page is worth more than any chart.
Trust the Tests, Not the Label
Use the tests together. A spark test tells you roughly how much carbon is there, a file test tells you whether it hardened, and a bend test tells you how it behaves when it matters. If a piece fails two out of three, put it aside for gate hinges rather than blades.
For anything critical, buy known stock from a supplier and follow the maker's heat-treatment figures. Mystery steel is for learning, brackets and the parts of a project nobody will inspect. And if you are ever unsure whether a quench, a temper or a fume is safe, stop and check before you carry on.
Photo: Tima Miroshnichenko / Pexels